Session 8: Pockets, Step-Over & Step-Down
Unit 2 — Manufacturing Foundations, Week 3

Session 8
Pockets, Step-Over & Step-Down
Last Time
Profile cuts follow a line. A pocket clears out an entire area.
That's a different problem — the bit can't just trace an outline once.
Clearing an Area Takes Many Passes
The bit sweeps back and forth, slightly overlapping each time, until the whole area is clear.
Step-Over
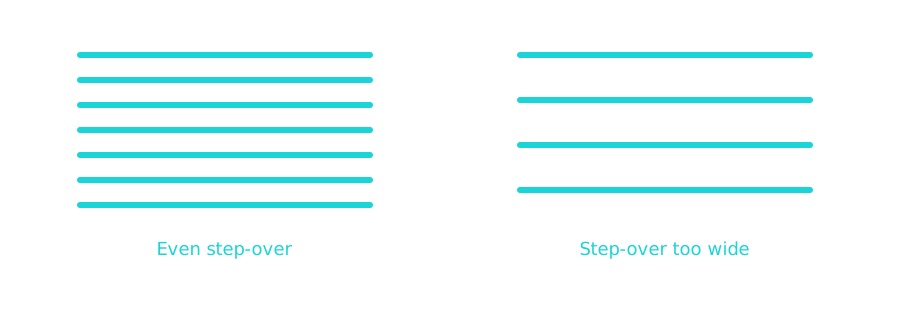
Too Wide a Step-Over
Leaves thin ridges of material standing between passes — the pocket looks clear from above but isn't.
A Different Problem: Depth
Cutting a thick panel to full depth in one plunge stresses the bit hard.
Step-Down
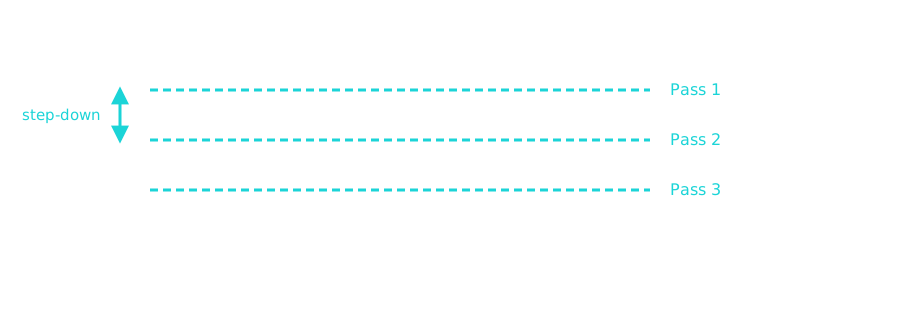
Why Shallow Passes Instead of One
- Less heat and stress on the bit — lower breakage risk
- Cleaner chip clearing at each depth
- A broken bit mid-cut is worse than a slower job
One More Thing: Tabs
When a Profile cut fully separates a part from the stock, what's holding it in place at that final moment?
Tabs
Small, deliberately uncut bridges that hold the part to the stock until you remove them by hand after the job finishes.
No Tabs, No Warning
A fully-cut part can shift or come loose mid-job — right next to a spinning bit.
Two Things to Remember
Step-over and step-down solve different problems.
Step-over is about area (side to side). Step-down is about depth (top to bottom). Don't confuse which one fixes which issue.
Two Things to Remember
Tabs are a safety feature as much as a practical one.
A part that's still attached can't become a projectile mid-cut.
Next Time
Session 9: Apply CAM to a Practice Piece
Everything from these two sessions, programmed for real in OnShape.
'F' → Fullscreen
Build
Step 1: Diagnose a Bad Pocket
A pocket cut with too-wide a step-over comes out with visible ridges still standing. Explain, in your own words, why this happens even though the toolpath ran the whole area.
Step 2: Step-Over or Step-Down?
For each problem below, name which one (step-over or step-down) is the actual fix:
- A pocket comes out with thin uncut ridges between passes
- A bit snaps partway through cutting a thick panel to full depth
- A pocket's bottom is rough and uneven, even though the sides look fine
Step 3: Why Tabs?
Explain what would actually happen, step by step, if a Profile cut fully separated a part from stock with no tabs, while the job was still running.
Checkpoint
Before you move on, confirm you can explain, out loud, the actual difference between what step-over fixes and what step-down fixes.
Reflection
Answer the following questions before submitting your work.
- Which of today's three concepts — step-over, step-down, or tabs — do you think would be easiest to forget under real time pressure? Why?
- A pocket toolpath is really many overlapping profile-like passes. How does that change how you'd think about setting it up, compared to Session 7's single profile cut?
- Session 9 has you apply all of this for real. What's the one thing from these two sessions you're least confident about actually setting correctly?
Submit
Submit your pocket diagnosis, your step-over/step-down answers, your tabs explanation, and your reflection.